Alibaba Cloud Linux release 3 (Soaring Falcon) 上安装mongdb4.4.26
1,首先从https://www.mongodb.com/try/download/community 下载对应平台的版本,这里是alibaba的系统,基于centos改编,和centos操作基本一致。
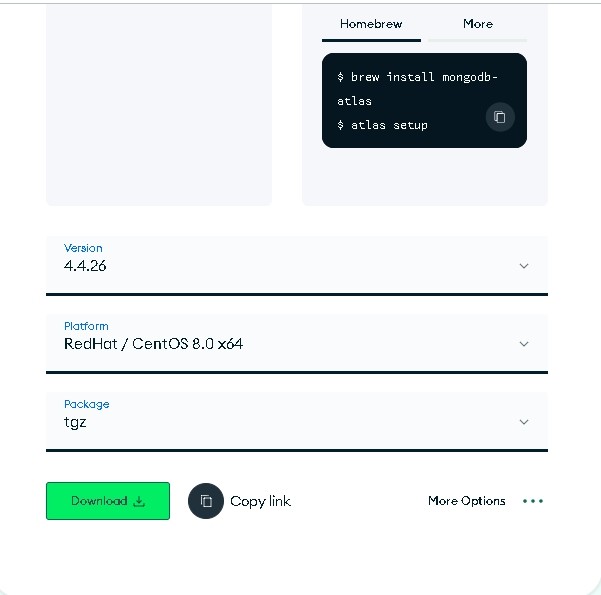
这里 Alibaba Cloud Linux release 3 相当于centos 8的版本。
安装时候,可以选择rpm安装server,然后再安装(shell)mongo,我这里的package选择是tgz。如图
2,下载下来解压,放到/midware/mongodb-4.4.26
2.1 mkidr -p /midware/mongodb-4.4.26/{conf,data,logs} 建立目录
2.2 useradd mongod -s /sbin/nologin -d /midware/mongodb-4.4.26/data
建立启动mongod的用户,这里使用mongod启动程序
3,编辑mongod.conf 配置文件放到 /midware/mongodb-4.4.26/conf下面
# mongod.conf
# http://docs.mongodb.org/manual/reference/configuration-options/
# here to write logging data.
systemLog:
destination: file
logAppend: true
path: /midware/mongodb-4.4.26/logs/mongod.log
# Where and how to store data.
storage:
dbPath: /midware/mongodb-4.4.26/data
directoryPerDB: true
journal:
enabled: true
# engine:
# wiredTiger:
# how the process runs
processManagement:
timeZoneInfo: /usr/share/zoneinfo
# network interfaces
net:
port: 27017
bindIp: 127.0.0.1 # Enter 0.0.0.0,:: to bind to all IPv4 and IPv6 addresses or, alternatively, use the net.bindIpAll setting.
security:
authorization: enabled
4,编辑systemd启动文件mongod.service
[Unit]
Description=MongoDB Database Server
Documentation=https://docs.mongodb.org/manual
After=network-online.target
Wants=network-online.target
[Service]
User=mongod
Group=mongod
Environment="OPTIONS=-f /midware/mongodb-4.4.26/conf/mongod.conf"
Environment="MONGODB_CONFIG_OVERRIDE_NOFORK=1"
EnvironmentFile=-/etc/sysconfig/mongod
ExecStart=/midware/mongodb-4.4.26/bin/mongod $OPTIONS
RuntimeDirectory=mongodb
# file size
LimitFSIZE=infinity
# cpu time
LimitCPU=infinity
# virtual memory size
LimitAS=infinity
# open files
LimitNOFILE=64000
# processes/threads
LimitNPROC=64000
# locked memory
LimitMEMLOCK=infinity
# total threads (user+kernel)
TasksMax=infinity
TasksAccounting=false
# Recommended limits for mongod as specified in
# https://docs.mongodb.com/manual/reference/ulimit/#recommended-ulimit-settings
[Install]
WantedBy=multi-user.target
5,chown mongod:mongod /tmp/mongodb-27017.sock
6,启动服务
systemctl enable mongod ;systemctl start mongod.service 然后检查文件是否有误。
7.注意 mongdb4.2以上版本中
storage
journal
enabled
mongodb 8.x 这个选项已经作废,会提示 Unrecognized option: storage.journal.enabled,去掉即可。
mongodb6.0以后做出了重大改变,mongodb已经不再默认为你安装shell工具(mongo工具),因此需要安装一个额外的
shell:Install mongosh — MongoDB Shell,这个工具被称为mongosh
mongod.conf 下载 mongod.service 下载
- 发表于 2023-12-14 03:57
- 阅读 ( 34 )
